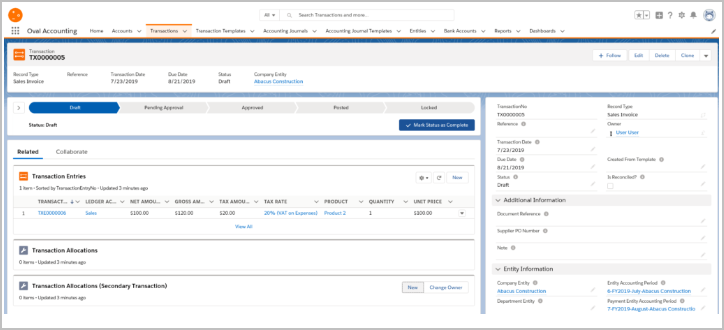
The Transactions tab is where the transactions can be added for your Company. In order to do this, follow these steps:
- Navigate to the Transactions Tab in Oval Accounting.
- Click on New.
- Select the record type from the list provided (this is based upon a Sales Invoice).
- Click on Next.
- Enter the Transaction Reference if required.
- Enter the Transaction Date.
- Enter a Due Date if required ( this defaults to 30 days within the application).
- Select the Status.
- Select the Tax Treatment of Tax Exclusive, Tax Inclusive or No Tax.
- Select a Transaction Template if required.
- Add additional Information if required.
- Add the related Account information if required.
- Add the related Record information if required.
- Click on save.
NOTE: If the default entity has been set within the Accounting helper, then the Entity information will be automatically set.
The Transaction has now been created.
To enter line items, click on new entry and enter the financial information relating to the transaction.

You can change the Status of the Transaction either manually editing the Status field, or using the Kanban bar.

Highlight the Status you want to change it to and then click the ‘Mark Status as Complete’ button.

The following Training Module provides further information for creating Transactions Oval Accounting – Transactions Training Module
End of Article.
